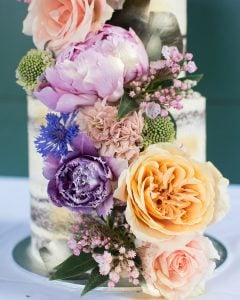
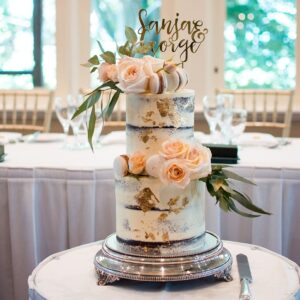
Tutorials
Easy Marshmallow Recipe

Jan
It’s been a while since we started school holidays and we are all starting to get a little bored now. If you’re wondering what you can do to have some fun and eat a yummy treat at the same time, this is what you need! 😀
I haven’t been making marshmallows for that long either but when I decided make some as a practice for a Valentine’s Day treat, I instantly thought of doing a quick tutorial and a blog post. This is so easy to make for any skill level. Just make sure to watch the video on Instagram and follow the steps!
RECIPE:
1/2 cup cold water
30g gelatine (any form)
2 cups of caster sugar
1 cup of water
Optional: 1 tbsp rose water, food colouring
STEP 1:

Add Gelatine and COLD water in a small bowl and let it rest for 5 minutes. Don’t need to stir or play around with it – just leave it alone to do its magic!
STEP 2:

Add caster sugar and water to a medium sized saucepan and put it on medium heat. Gently stir few times until the sugar is completely covered by water. Let this sit and bring it to a boil.
STEP 3:
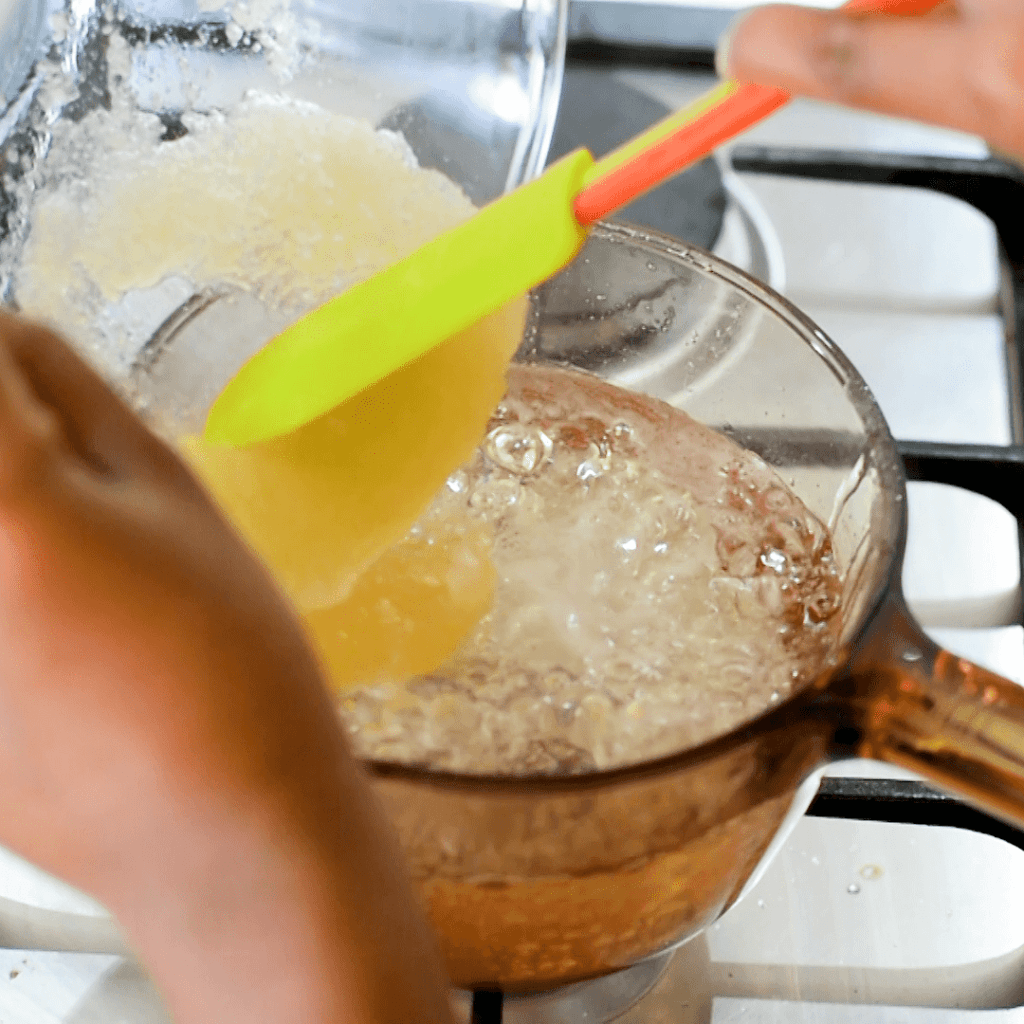
Add the Gelatine mixture to the boiling sugar syrup (keep the saucepan on the stove in medium heat). Use a spatula to stir couple of times until all the Gelatine is completely submerged in the sugar syrup. Leave this to sit without touching until it comes to a boil. After a good 5 minutes of boiling (be careful of your hands because this mixture is now over 100C – could result in a burn).
STEP 4:

Use an electric mixture or hand mixture to beat this hot syrup. Be very careful when adding the hot syrup to the mixture. TIP – keep the mixture off completely and add all the syrup before starting to beach (this can splatter – so start at low to medium level). Gradually increase the speed up to medium – high and beat for 10 minutes in total or until your syrup becomes almost stiff peaks and white/fluffy.
OPTIONAL – you may want to add colour or different essence to change the taste and look. I added 1 Tbsp of rose water and pink food colouring.
STEP 5:
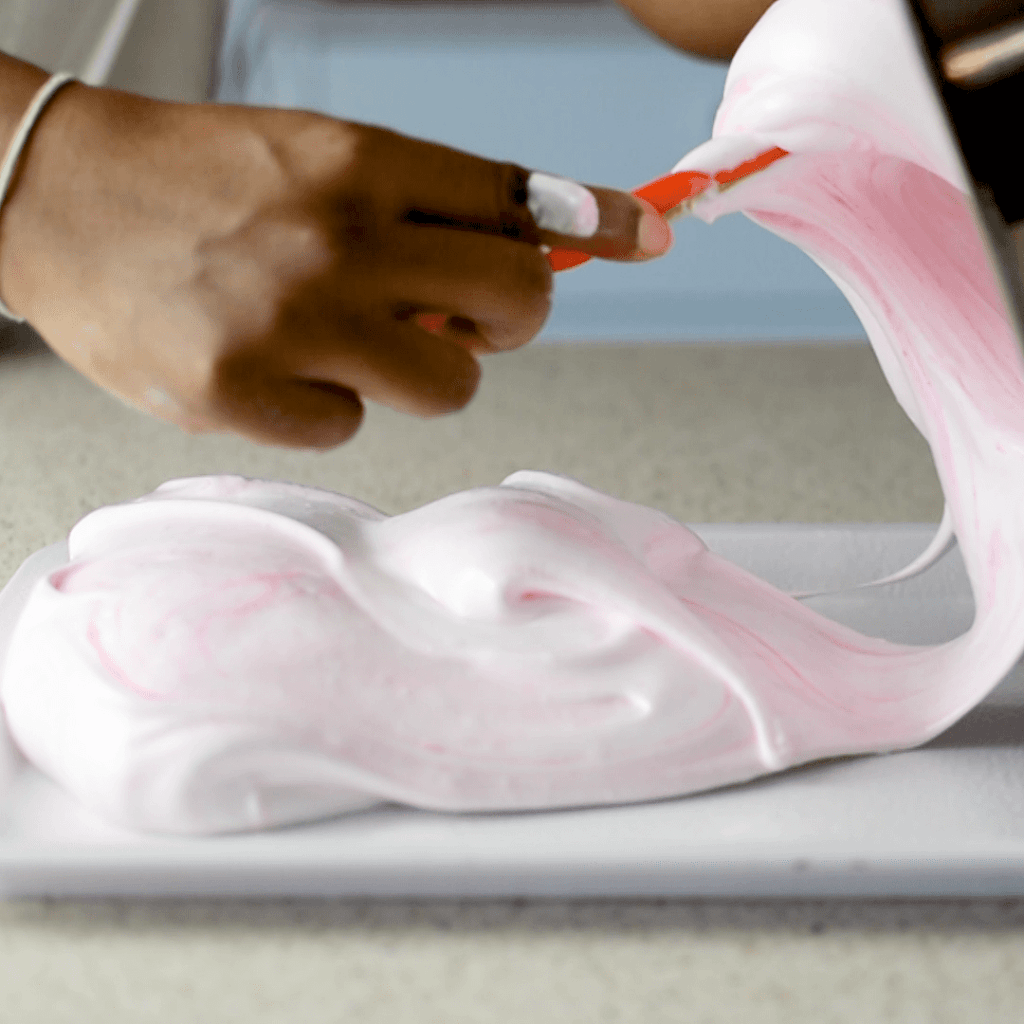
Spray a pan with oil and spread your fluffy marshmallow mixture. Make the surface smooth and flat.
OPTIONAL – you may want to add any toppings or even add extra nuts, chocolate or jellies in between to create layers on your marshmallows
STEP 6:
Refrigerate this marshmallow mixture until firm to the touch for 1 – 2 hours.
STEP 7:

Dust the bench or the surface with icing sugar (this helps to prevent the marshmallows from sticking to the bench). Use a cookie cutter or a knife to slice pieces and coat again with icing sugar.
This makes a large amount but I can guarantee you that it won’t be difficult to finish 😉
GOOD LUCK FAM!
Check out our instagram page for the video at @ruwiscakes
Tag us on Instagram if you attempt this! We would love to see your creations. If you have any questions, please comment below and we will get back to you with as much help as possible.